 |
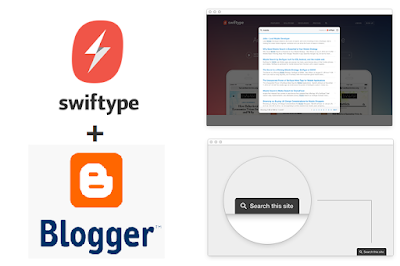
| Swiftype smart search box for blogger blogs |
Search box could be called the fuel of a blog because it runs your blog. People find their desired content through search box. As it is a very useful widget so it is available in many styles in different blogs because everybody is trying to make his blog unique from other. Although blogger has a built-in search box in the navbar as well as in widgets list but most of the blogger prefer to use customized search boxes because they look good.
Most of the search boxes are customized by CSS and some are designed by using some javascript also to enable some great features like auto-complete.
But its not easy to use the search boxes having auto-complete feature because it needs alot of work and you have to add each suggestion manually. So advance bloggers are using advance search box like Google custom search engine. Because it has suggestion feature but it slows down your blog as well as need manual work for auto-complete suggestions.
So this time I brought you a smart search box which has some great features. You can read these features below:
(1). It is free of cost and floats on the bottom corner of your blog.
(2). It is easily customizable.
(3). It crawls your blog automatically and show suggestions based on keywords.
(4). Easy to setup.
(5). You can use a single account for a single blog with free account. But you can upgrade to a premium account.
Don't Miss:
- How To Setup Google Custom Search Box In Two Pages In Blogger
- Search Boxes With Different Styles For Blogger
- Search Box For Blogger Mobile Site
- 10 Stylish Search Boxes For Blogger
How To Install Smart Search Box In Blogger:
Step 1: Go to https://swiftype.com/users/sign_up and register a free account by typing your full name, E-mail, Password and Phone number.
Step 2: Now log-in to your account here.
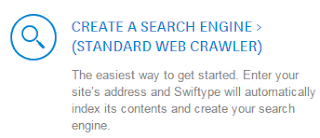
Step 3: Click on Create A Search Engine And
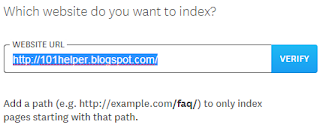
Step 4: Enter your blog address and click on verify.
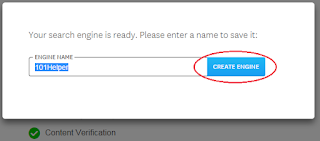
Step 5: Enter name of your search engine and click on Create Engine to proceed away.
Swiftype will start crawling and indexing your posts immediately.
Step 6: Scroll down the page and click on Install Search Engine.
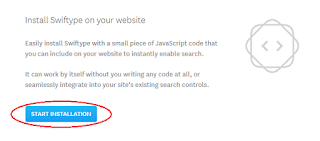
Step 7: Click on Start Installation
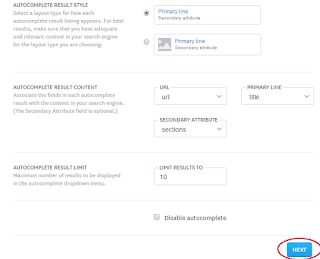
Step 8: Customize your search engine's appearance e.g search results, number of search results etc and then click on next.
If you want to disable auto-complete check the Disable auto-complete option.
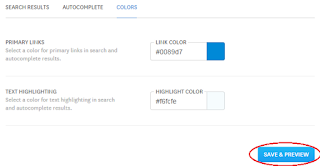
Step 10: Make color Customizations e.g Primary Links color and Text Highlighting color and click on save and preview.
You can use color picker but if you want to choose a specific color and get its code then use 101Helper color picker.
Step 11: See preview of your search box and click on save.
Step 12: Its almost done now just scroll down the page and click on Activate Swiftype.
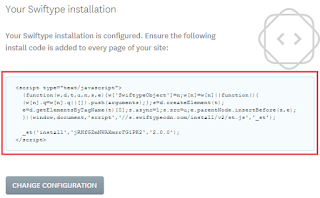
Step 13: Copy the code of your Swiftype search engine.
Step 14: Go to blogger dashboard and navigate to template > edit html.
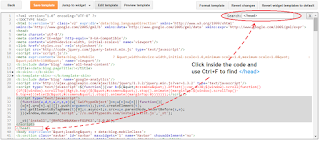
Step 15: Click inside the code and hit Ctrl+F.
Step 16: Type </head> and hit enter.
Step 17: Just above it paste the copied code as shown in above image.
Step 18: Click on save template and finally you are done!
How is this post? Is this gadget working in your blog properly? Please give me your feedback by leaving a comment below. If you have any problem in above steps feel free to ask me.
Follow and subscribe to our news letter for latest updates. Share this post with others and help us spread our voice.





EmoticonEmoticon